Mark Sample
Overview
The process to mark a material sample with a particular status is available through the Samples Window.
Prerequisites
A sample must have been added.
Mark Sample
To mark a material sample with a particular status:
-
Right click on the sample to be marked in the Samples table.
-
To record a date of receipt, select "Mark Sample Received" in the context-sensitive menu.
-
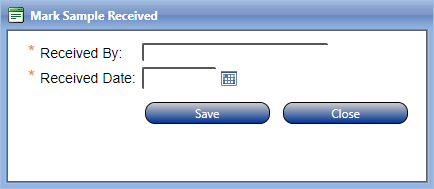
A new pop-up window is displayed.
-
Enter the information in the required fields indicated by an asterisk.
-
Enter the date in the Received Date field or choose the date using the date picker.
-
Click on the Save Button.
-
-
-
To mark a sample as approved, select "Approve Sample" in the context-sensitive menu (the sample will be marked with a green check mark).
-
To mark a sample for review, select "Mark for Review" in the context-sensitive menu (the sample will be marked with a red "N").
-
To mark a sample as failed, select "Fail Sample" in the context-sensitive menu (the sample will be marked with a red "X")
-
To cancel a sample, select "Cancel Sample" in the context-sensitive menu (the sample will be marked with a null sign
 )
)
Notes
-
Users can reverse or edit any sample status marks using the options in the context-sensitive menu.
-
Users can see what a status icon means by hovering the cursor over the icon in the Status column of the Samples table.